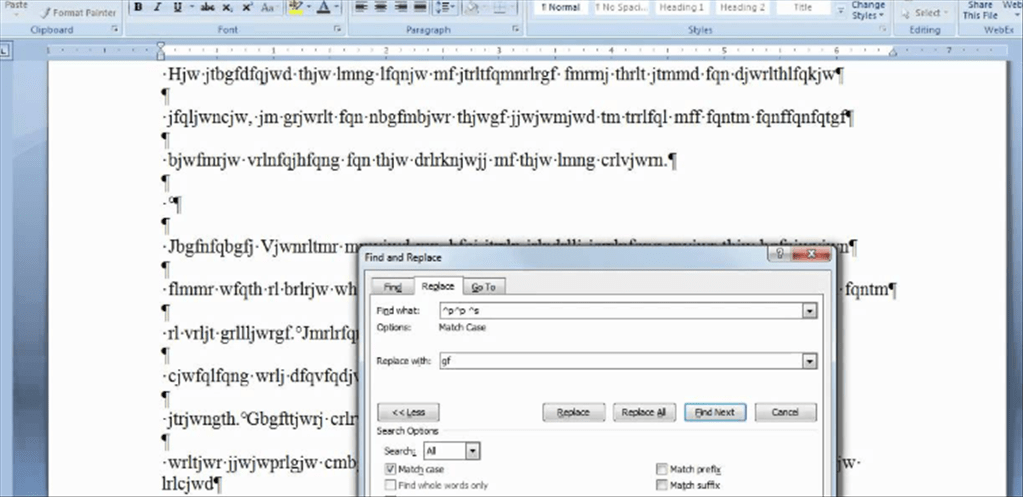
Fortunately, there’s an easy way to remove them.
- Click the top menu item Tools->Options
- Click View
- Look for ‘Formatting Marks’, and uncheck the option ‘All’
- Click OK
Or for newer versions…
- Click the top menu item ‘Review’
- Look for ‘Show Markup’ and click
- Look for ‘Formatting’ and uncheck
OR
- Click View
- Move down to Toolbars and choose Standard, for standard toolbar
- You should see a Pilcrow icon on the toolbar that you can click to either show or hide
Finally, Windows 10 makes it much easier to find. Just click the ‘Home’ tab, and you should see the Pilcrow icon somewhere near the top middle. You can click it to turn it off and click it again to turn it on.
Simply follow these steps to turn back to normal MS Word experience and make the blank spaces, blank again.
■Initialize MS Word program using any account.
■On programs interface window, select FILE from the menu tabs.
■On the Word’s settings and information’s page, click on Options button situated on the left pane.
■On the Word Options box, select Display from the categories on the left pane.
■On the section Always show these formatting marks on the screen, uncheck the Paragraph marks checkbox.
■Press OK to save the changes.
■Close and reopen MS Word 2013 from the Start menu.
Now when you use MS Word, the strange characters will not be visible in place of blank spaces, and the document will look normal again.
- Fix “Sorry, This File Type Is Not Permitted for Security Reasons” Error in WordPress - August 25, 2020
- My HP OMEN is showing a “plugged in, not charging” when I plug it in to charge. - August 25, 2020
- Access another computer with Chrome Remote Desktop - August 22, 2020


Thanks a lot. You save my time.
Thanks it works for me. you save my day