1. Add New Permitted File Types Using wp-config.php
To get started, connect to your WordPress site via FTP/SFTP. Your site’s wp-config.php file is located in the root folder, which is the same folder that has the wp-admin and wp-includes folders.
Right-click to edit the file, or download it to your computer:
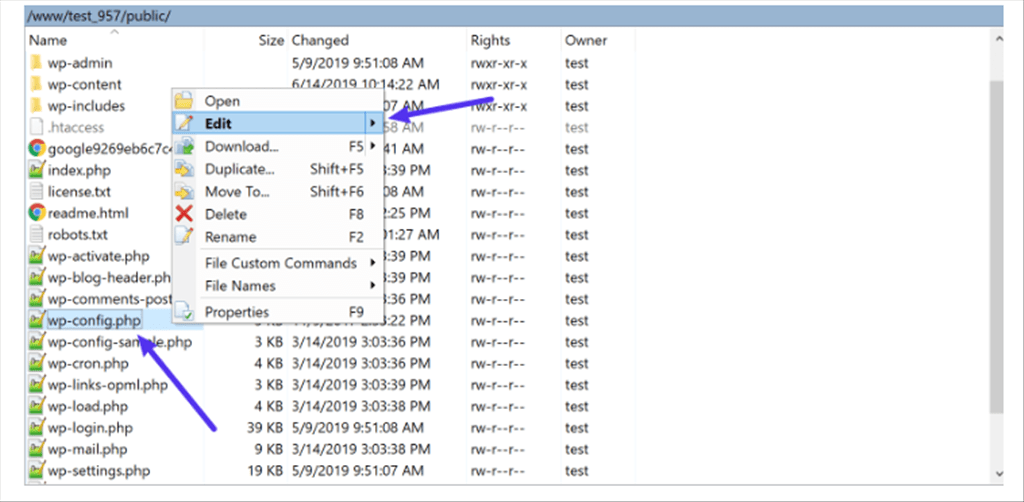
How to edit your wp-config.php file
Then, while editing the wp-config.php file, add the following code snippet above the /* That’s all, stop editing! Happy blogging. */ line:
define('ALLOW_UNFILTERED_UPLOADS', true);
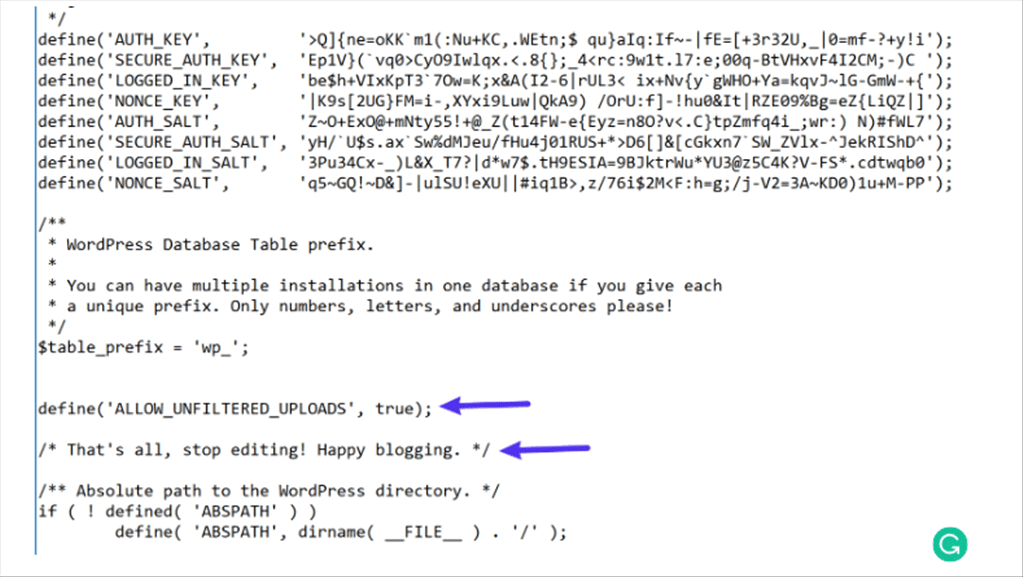
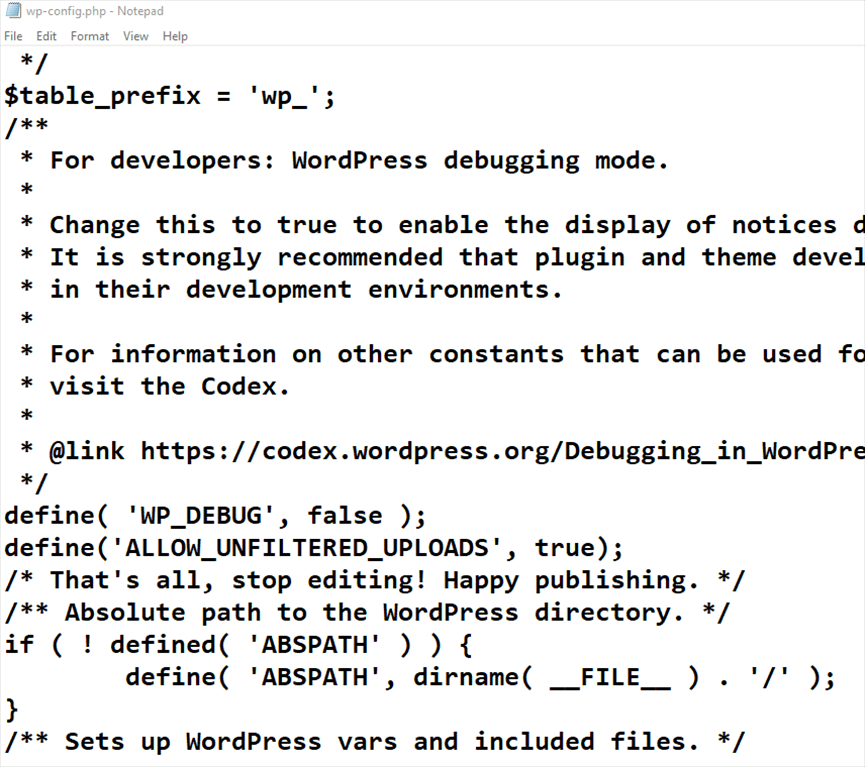
Where to add the code in your wp-config.php file
Make sure to save your changes and re-upload the file if needed.
To finish the process, you’ll need to go to your WordPress dashboard and log out of your WordPress account. Then, you can immediately log back in.
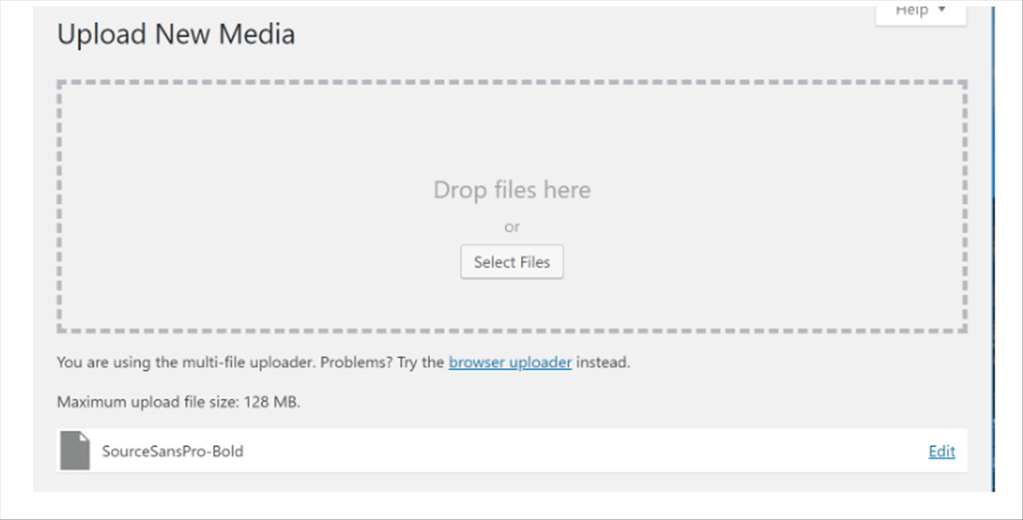
After you’ve logged out/in, you should be able to upload any file without triggering the error message:
2. Use the Free WP Extra File Types Plugin
You can also use the free WP Extra File Types plugin at WordPress.org
Once you install and activate the plugin, go to Settings → Extra File Types in your WordPress dashboard.
There, you’ll see a lengthy list of file types. Check the box next to the file type(s) that you want to be able to upload and then click Save Changes at the bottom:
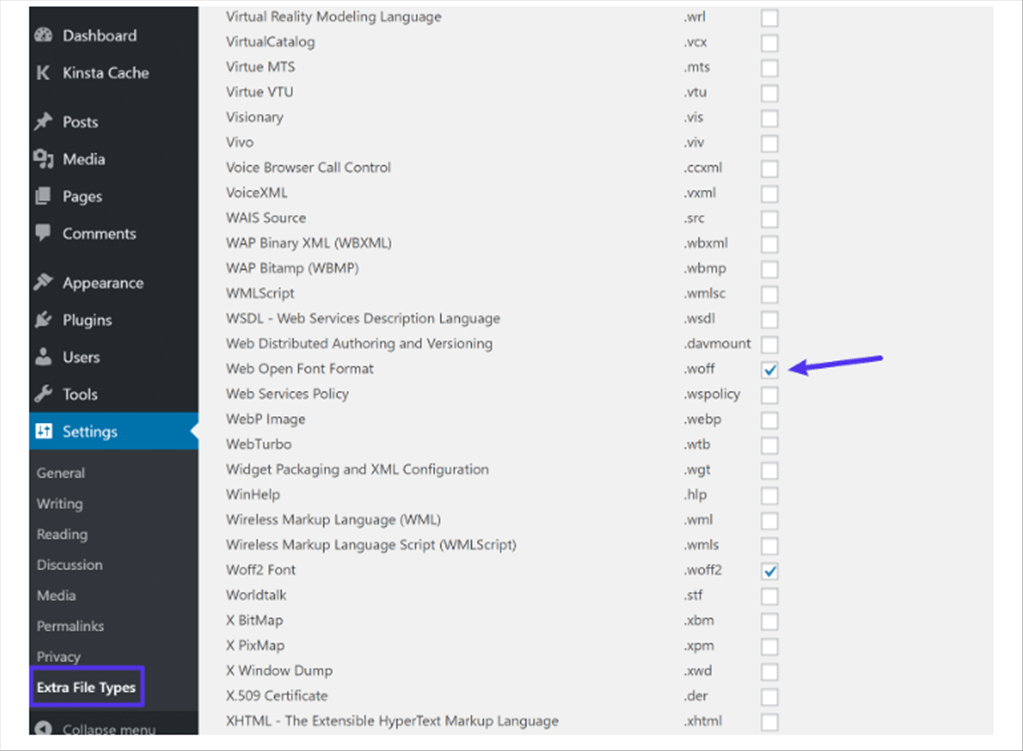
How to allow file types in the plugin’s settings
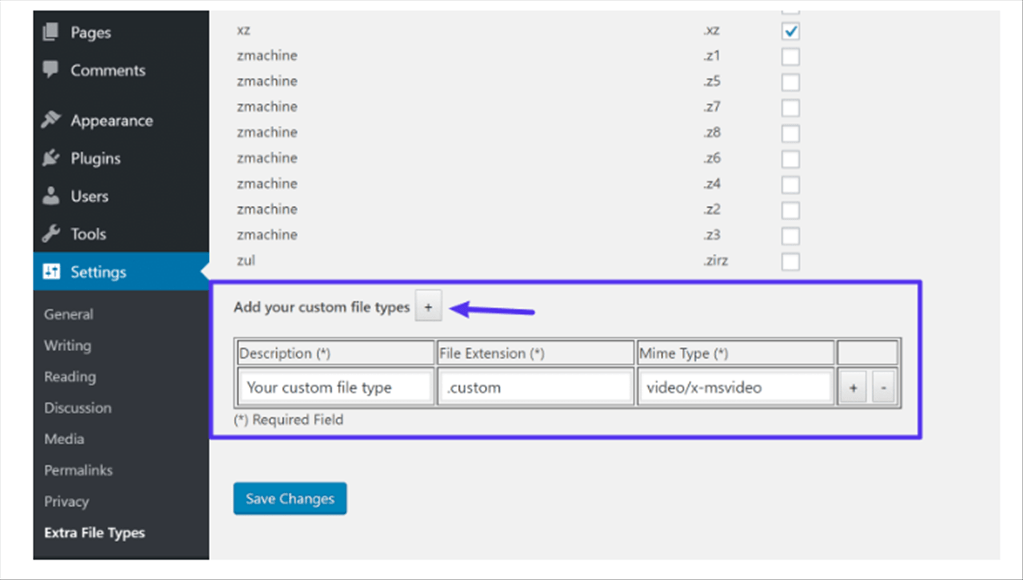
If you don’t see the file type that you’d like to upload on the list, you can also add your own custom file types at the bottom of the plugin’s settings list:
- Fix “Sorry, This File Type Is Not Permitted for Security Reasons” Error in WordPress - August 25, 2020
- My HP OMEN is showing a “plugged in, not charging” when I plug it in to charge. - August 25, 2020
- Access another computer with Chrome Remote Desktop - August 22, 2020


