
1. Change default time-out setting
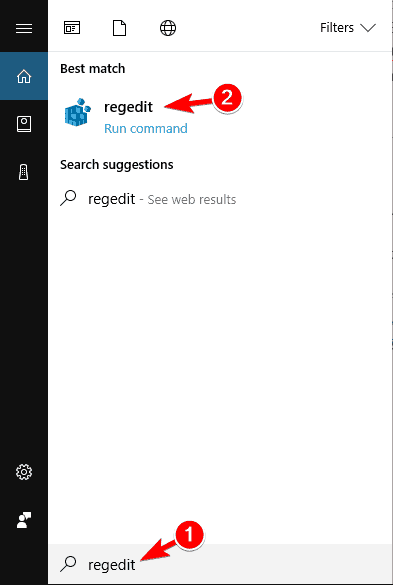
- Go to Search, type regedit, and open Registry Editor.
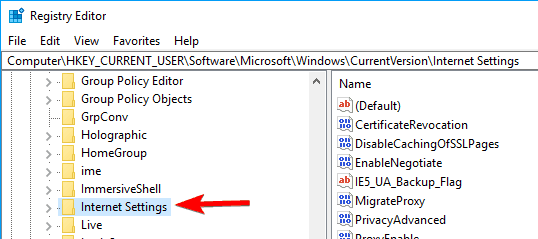
- Navigate to the following path:
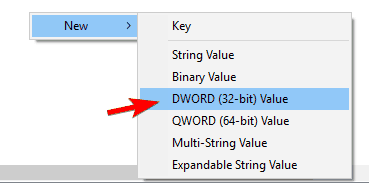
- In this subkey, add a DWORD, and name it ReceiveTimeout, and set its value to <number of seconds>*100. For example, if you want the time-out duration to be 8 minutes, set the value of the ReceiveTimeout entry to 480000 (<480>*1000).
- Restart the computer.
2. Adjust LAN Settings
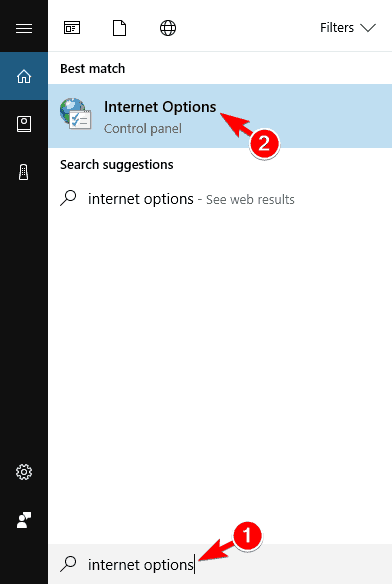
- Go to Search, type internet options, and open Internet Options.
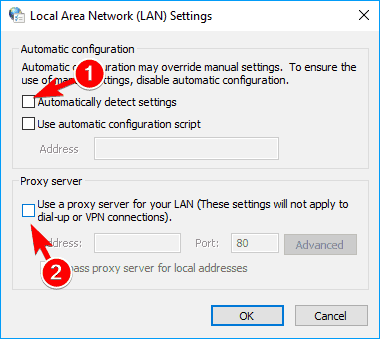
- Go to Connections tab, and then to LAN Settings.
- Uncheck Automatically Detect Settings, and Use Proxy Server for your LAN.
- Restart your computer.
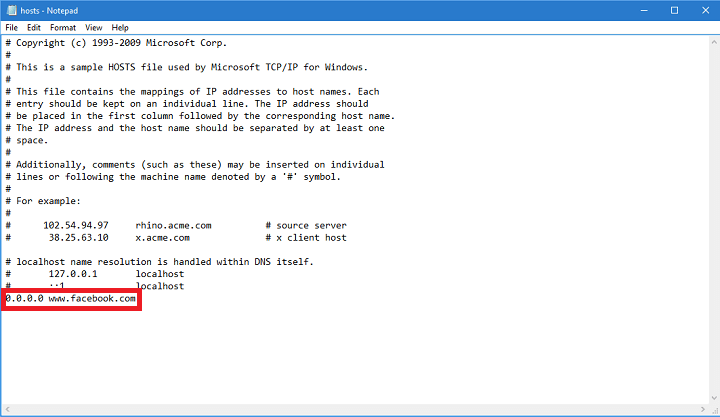
3. Edit Windows 10 Hosts File
- Go to this location: C:WindowsSystem32driversetc.
- Find hots file, right-click on it, and open it with Notepad.
- At the very bottom of the file, check if there are any sites listed
- If there are any sites listed, just delete them
- Save the hosts file
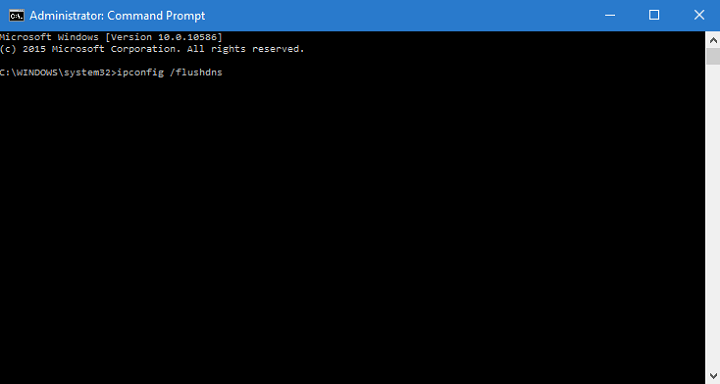
4. Renew DNS and IP
To reset DNS cache, and IP address, do the following:
- Right-click on the Start Menu, and choose Command Prompt (Admin).
- Add the following commands, and press Enter after entering each one:
- After the process is finished, restart your computer
5. Disable problematic extensions
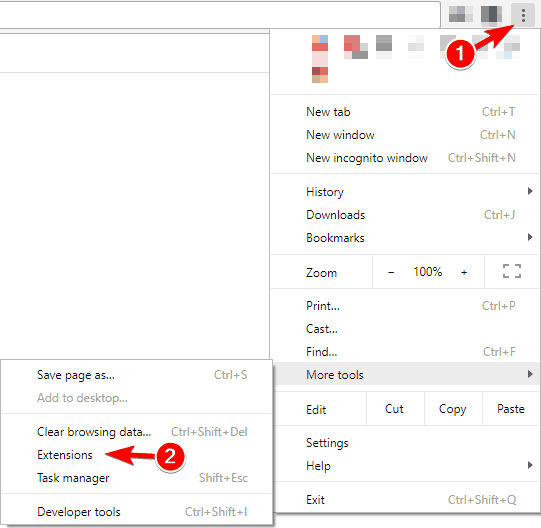
- In your browser click the Menu icon in the top right corner. Choose More tools > Extensions.
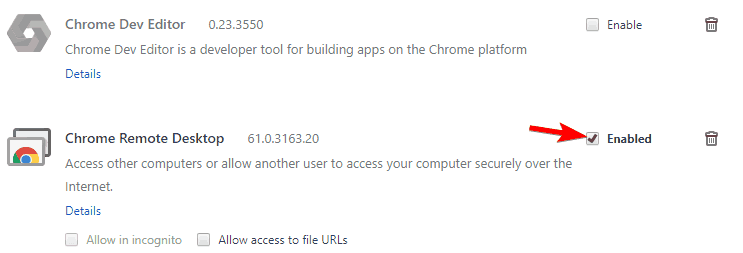
- List of extensions will now appear. Disable all extensions by unchecking the Enabled checkbox next to the extension name.
- After disabling all extensions, restart your browser and check if the problem still appears. If not, you’ll have to enable extensions one by one until you find the one that is causing this error to appear.
6. Reset your browser to default
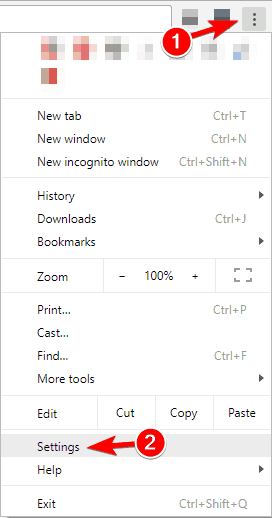
- Click on the Menu icon in the top right corner and choose Settings.
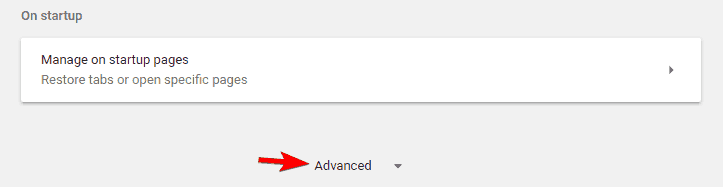
- When the Settings tab opens, scroll all the way down and click on Advanced.
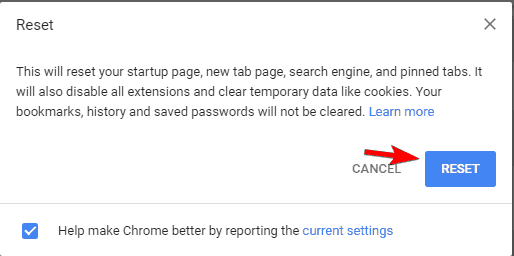
- Locate the Reset option and click it.
- The confirmation message will now appear. Click on Reset to proceed.
7. Run your browser in Compatibility mode
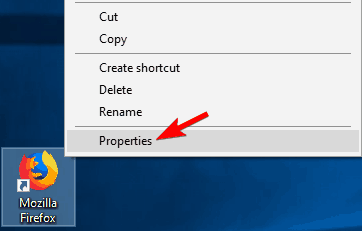
- Locate your browser’s shortcut and right-click it. Choose Properties from the menu.
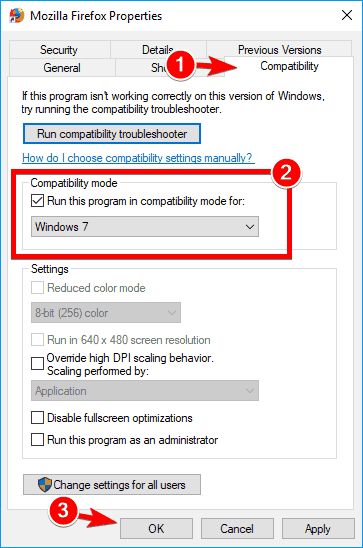
- When the Properties window opens, navigate to Compatibility tab and check Run this program in compatibility mode for and select an older version of Windows.
- Now click on Apply and OK to save changes.
8. Remove Trusteer Rapport
To fix the issue, users are recommending to completely uninstall Trusteer Rapport. After removing the application, the issue should be completely resolved.
9. Make sure that you’re using the 64-bit version of your browser
we recommend removing your browser and install the 64-bit version instead. After doing that, the problem should be completely resolved.
10. Restart your router
You might be able to fix the problem simply by restarting your router.
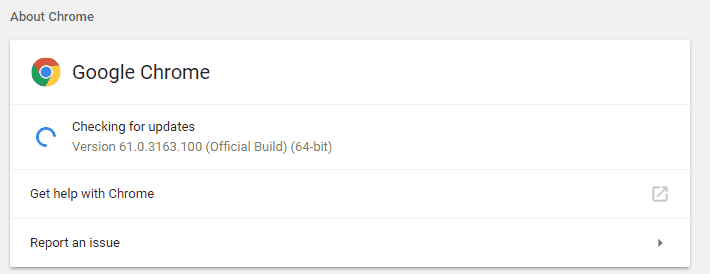
11. Make sure that your browser is up to date
To fix the problem, be sure that your browser is up to date. To check for updates in your browser, do the following:
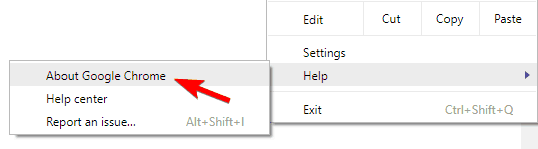
- Click on the Menu icon in the top right corner and choose Help > About Google Chrome.
- Your browser will now check for updates and install them automatically.
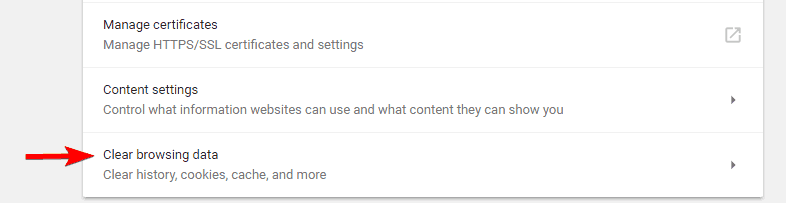
12. Clear your browsing data
- Click the Menu button and select Settings. When the Settings tab opens, scroll all the way down and click on Advanced.
- Scroll down to the Privacy and Security section and click on Clear browsing data.
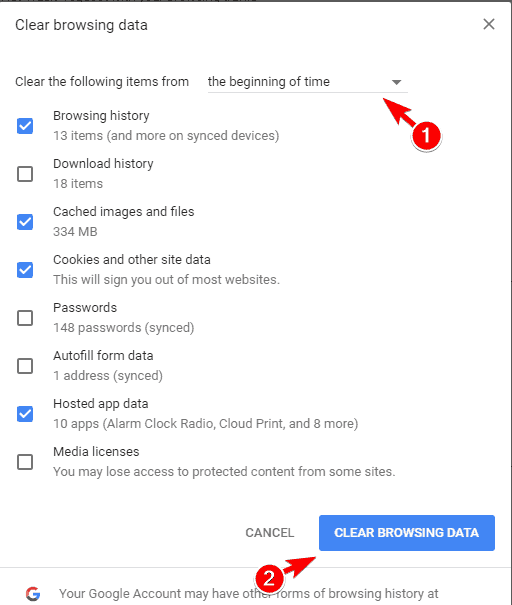
- Set Clear the following items from to the beginning of time.
- Make sure that Browsing history, Cached images and files, Cookies and other site data and Hosted app data options are checked.
- Now click on Clear browsing data button.
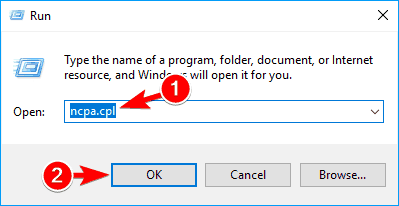
13. Use Google’s DNS
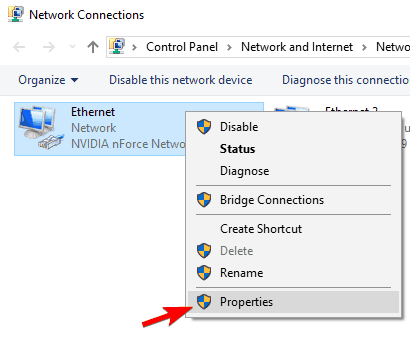
- Press Windows Key + R and enter ncpa.cpl. Press Enter or click OK.
- Network Connections window will now appear. Right-click on your network connection and choose Properties from the menu.
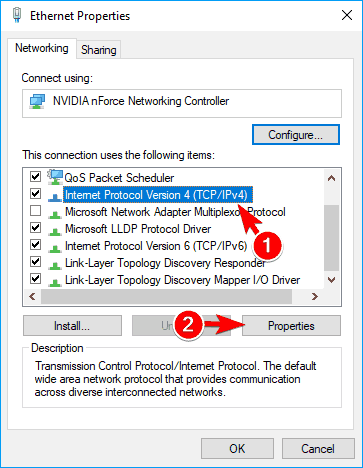
- Select Internet Protocol Version 4 (TPC/IPv4) and click on Properties.
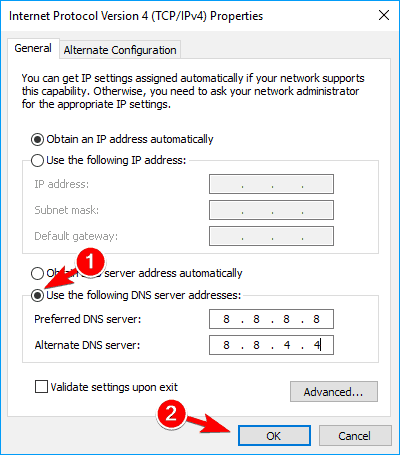
- When the Properties window opens, select Use the following DNS server addresses. Now enter 8.8.8.8 as Preferred DNS and 8.8.4.4 as Alternate DNS server. Click OK to save changes.
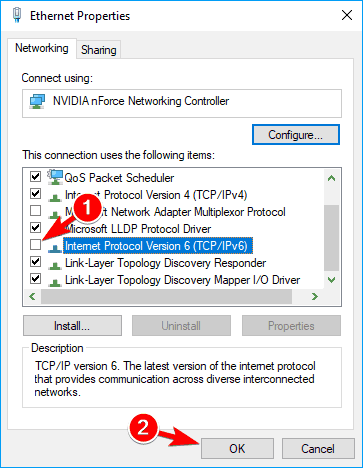
14. Disable IPv6
- Follow Steps 1 and 2 from the previous solution.
- When the Properties window opens, locate Internet Protocol Version 6 (TCP/IPv6) on the list and uncheck it. Now click on OK to save changes.
- After doing that, restart your PC to apply the changes.
Latest posts by GCS Team (see all)
- Fix “Sorry, This File Type Is Not Permitted for Security Reasons” Error in WordPress - August 25, 2020
- My HP OMEN is showing a “plugged in, not charging” when I plug it in to charge. - August 25, 2020
- Access another computer with Chrome Remote Desktop - August 22, 2020
What worked for me:
Very often the reason of Google Chrome trouble is a bug with Cryptsvc service after Windows Update. Note: if you are not experienced user, it’s better to use the automatic tool, because you can damage system registry if will do steps below not properly. Please write us in comments if you have any questions.
Exit Google Chrome
Press Alt+Ctrl+Del and choose Task Manager
In the opened window choose Services menu, select CryptSvc and then right click and press Stop
Cryptsvc
Type regedit in Windows search bar, then find HKEY_CURRENT_USER\Software\Microsoft\SystemCertificates\Root\ProtectedRoots
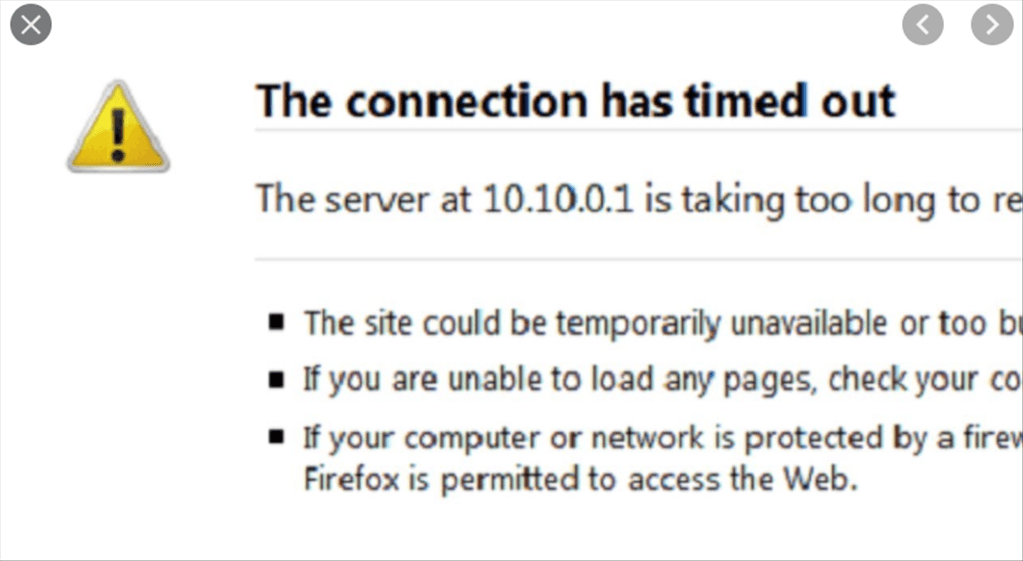
FIX ERR TIMED OUT
Right cick on ProtectedRoots, go Permissions, then choose Advanced
Then choose Enable Inheritance
If you get “Incorrectly ordered” message, press Reorder, then go to Advanced and note the reordering for later
If you have “not permission to edit roots” message, make yourself have a Full Controll
Go to …SystemCertificates\Root – up one level
If you see any certificates in right column, just export it
If you doesn’t see any sertificates (it’s normal) right click Root, then choose Delete – it will rebuild automatically later
Start CryptSvc from task manager
Restart Google Chrome
#5
It could be a mixture of things that are causing this problem. First of all, what ISP are you using? If it continues to slow down try emailing/contacting you ISP and with evidence that you have a problem and slower broadband than you paid for
It could also be a old router, old cables to your house, ethernet cables, etc. But I think the most likely is the ISP, thats what normally causes the internet problems.
I had the same issue once, day after day I couldn’t get online to do anything. But we contacted Talktalk and they fixed the problem.
Hope this helps 🙂
You can try updating the drivers or choosing roll back drivers.
Steps on how to do this
Windows start menu, search Device manager, go to network adapters and locate the network cable, double click on it, go to driver and either choose update driver or rollback driver.
If rollback driver is grayed out it means you can’t downgrade any more so choose update instead
Hope this helps you both
It was actually a problem with my TCP/IPV4 settings. When I had connected to the network, my adapter created 2 default gateways…. For those of you who may experience similar issues, here is what I had to do to get it to work:
1. connect to your wireless network
2. Open the wireless network connection status
3. go to properties
4. Click on TCP/IPv4 and open its properties
5. In the general tab, go down to advanced
6. In advanced check the default gateway to see if there are two or more addresses. There should only be one!
7. Click okay, restart and VIOLA!
I assume the issue is related to iolo.com, not your side.
If you get fair/good responses for pinging google public DNS, so you should consider you network good, and blame others(but not always it’s true, but mostly)
in command line, try ping 8.8.8.8 and/or ping 1.1.1.1 , and see you get responses below 150ms(less the better), then you are kind of in good state.
Hi,
Here are some easy ways to solve this issue.
The first one consists in increasing the timeout value :*100. For example 1000 would give 10 seconds.
Do Windows+R, then regedit and go to
HKEY_CURRENT_USER/SOFTWARE/Microsoft Windows/CurrentVersion/Internet Settings
In the Internet Settings panel, find ReceiveTimeout and Set the value to 100*
Save and restart.
Try to renew DHCP :
Do Windows+R, then cmd and Ctrl+Shift+Enter to execute as administrator ;
Launch these different commands: ipconfig /flushdnsipconfig /registerdnsipconfig /releaseipconfig /renew
Check that you don’t have a bad hosts file:
Do Windows+R then notepad %SYSTEM32%\drivers\etc\hosts
Ensure that there aren’t any websites listed.
Then, check your Internet settings :
Windows+R then Inetcpl.cpl
Go to Connections / LAN Settings.
Ensure that Automatically Detect Settings, and Use Proxy Server for your LAN are unchecked.
Save and restart computer.
What you can also try:
Try another browser ;
Disable your different browser extensions ;
Restart your router ;
Update your router firmware ;
Use Google DNS