

1. Verify the iTunes Apple Mobile Device USB Driver is installed
- Connect your iPhone to your computer. If iTunes is running, close it.
- Press Windows Key + X to open Win + X menu. Select Device Manager from the list.
- Find Universal Serial Bus controller and press plus to expand the list. Find Apple Mobile Device USB Driver on the list.
- If the driver name doesn’t have a down arrow, ! or ? or next to it, it means that it is successfully installed, and there might be some conflict with third-party software.
- If there’s a down arrow, you might need to enable the driver, and if there’s ! or ?, you might need to reinstall the driver.
- If the Apple Mobile Device USB Driver isn’t available on the list, then you might have a problem with your USB port, so try a different port for at least 30 seconds. In the worst case, your iOS device might not be compatible with chipset drivers, and you can try updating your chipset and motherboard drivers.
2. Unlock your iPhone and set your PC as a trusted device
- Before transferring files to Windows 10 make sure that you unlock your iOS device using your passcode, especially if you’ve never synced it with your computer before.
- Make sure that your iOS device trusts your computer before transferring your files.
3. Check for updates
- Update your photo-management software and iTunes.
- Update your iPhone.
- Check if there’s an update available for your version of Windows using the Windows Update application.
4. Try to import photos again
- Create a new photo to import.
- Connect your iPhone to your computer.
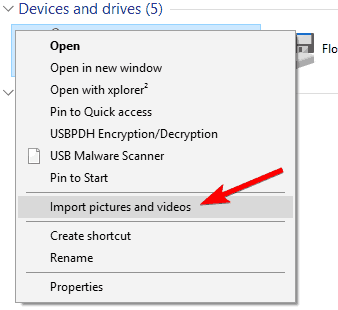
- Open This PC, find your iPhone under the Portable Devices, right-click it, and press Import Pictures and videos.
- In addition, you can try transferring your photos using the iTunes application.
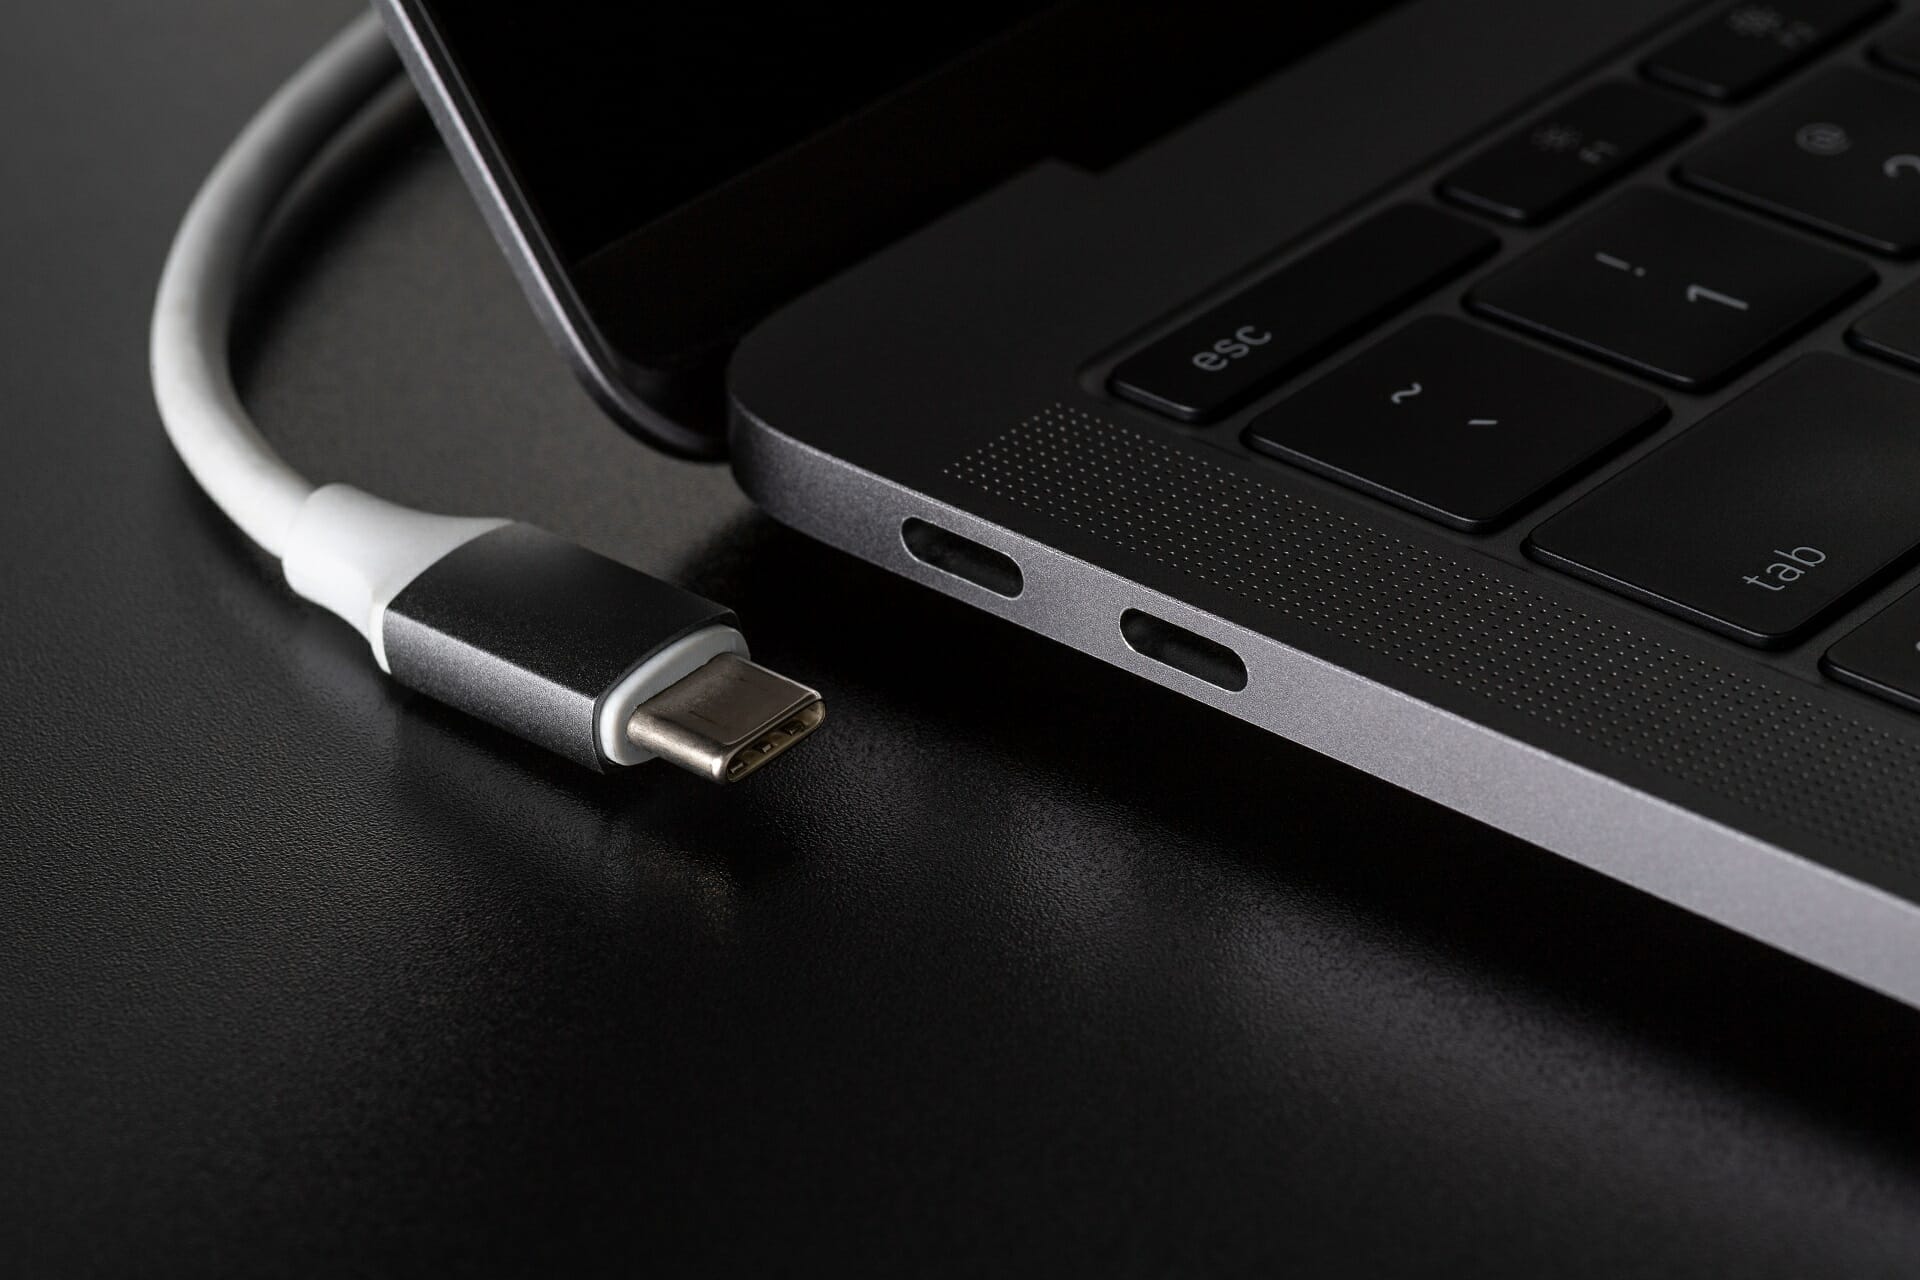
5. Check the USB cable
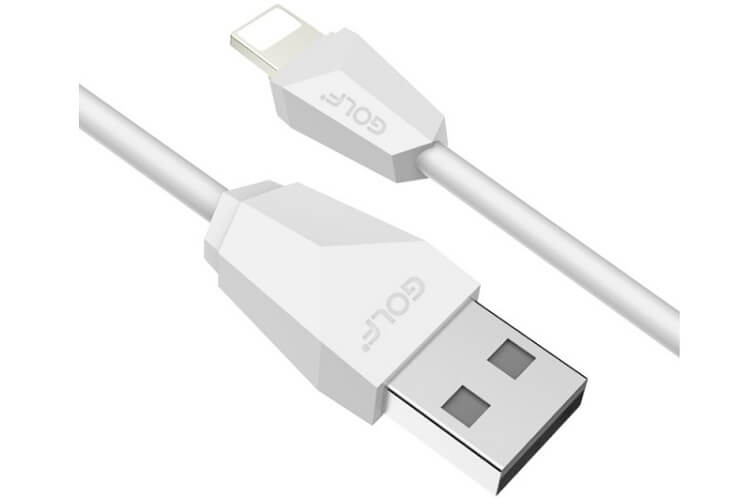
Make sure that your USB cable is functioning and that is free of dust. In addition, check for any damage.
6. Check if Apple Mobile Device Support is installed
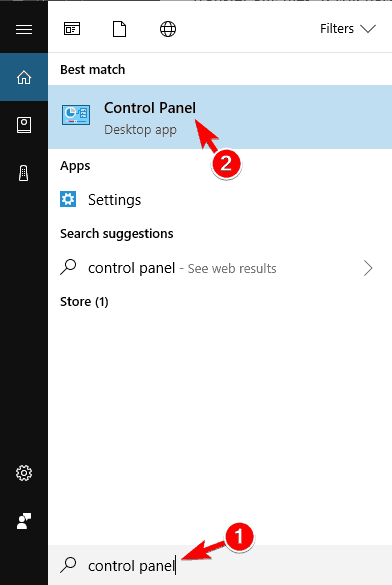
- Press Windows Key + S and type in Control panel.
- Select Control Panel from the list.
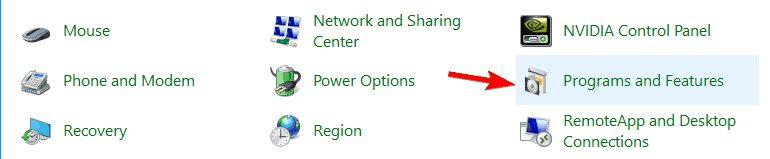
- When the Control Panel opens, locate, and click on Programs and Features.
- Check the list for Apple Mobile Device Support.
- If Apple Mobile Device Support isn’t on the list of installed software, you need to remove iTunes, QuickTime, Apple Software Update, Apple Application Support, and then reinstall iTunes.
7. Restart the Apple Mobile Device Service
- Close iTunes and disconnect any iOS devices that you have connected.
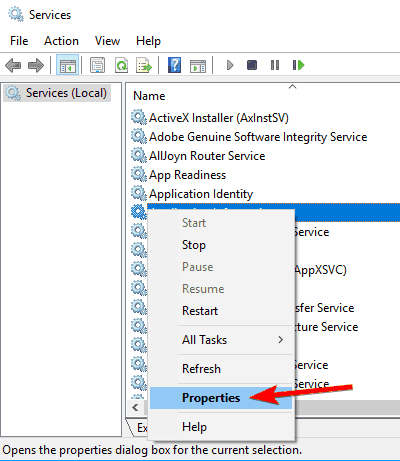
- Open the Run window by pressing the Windows key + R.
- In the input field enter services.msc and click OK.
- Services window should open.
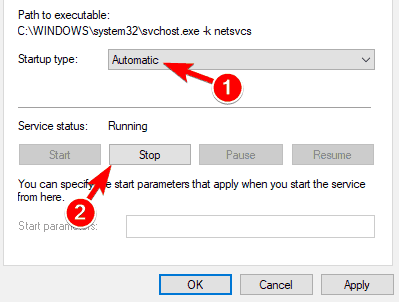
- In the Properties window find Startup type and choose the Automatic from the drop-down list.
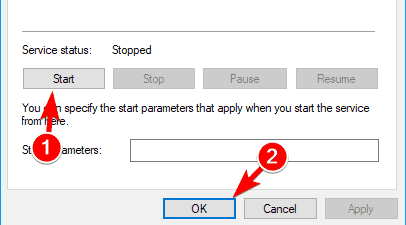
- After the service has stopped click Start to start it again.
- Open iTunes and connect your iOS device.
8. Try to transfer photos from iPhone on another Windows 10 PC
By connecting your iPhone to another PC you can easily diagnose if the problem is related to your computer, driver incompatibility or if it’s something wrong with your iPhone.
9. Reset your iPhone’s location and privacy settings
- On iPhone go to Settings > General.
- Now navigate to Reset > Reset location & privacy.
- Now connect your iPhone to the PC.
- Select the Trust option on your phone.
- Open iTunes and be sure to check Trust option as well.
10. Connect the iPhone via a different USB port on Windows 10 PC
If you’re unable to transfer files while using USB 3.0 port, be sure to connect your device to a USB 2.0 port and check if that solves the problem. Several users reported that using USB 2.0 fixed the problem for them, so be sure to try that.
11. Change the permission of the Pictures folder
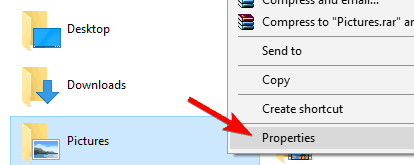
- Open This PC and right-click Pictures folder. Choose Properties from the menu.
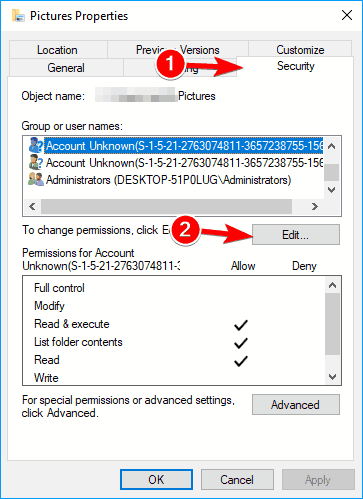
- Navigate to Security tab and click on Edit button.
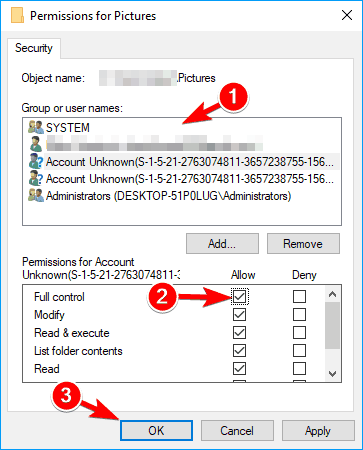
- Select your account from the list and check Full control in Allow column. Now click on Apply and OK to save changes.
12. Disable your antivirus
13. Transfer Photos from iPhone to Computer via USB Cord
1. Be sure to have your iPhone unlocked prior to plugging it in.
2. Plug the USB cord into an open dock on your computer and the other end into your iPhone’s charging port.
3. This will prompt the following message on your computer: Apple iPhone – Select to choose what happens with this device.
Click on this message
4. After you choose this, the following message will then appear asking what you would like to do with this device.
Click Import photos and videos
5. Your phone will also display a message asking whether you would like to allow this device to access photos and videos.
Click Allow
6. You will now have the option to choose the photos you want to import.
Select any pictures you would like to transfer and click Import selected
After you have selected a folder for the pictures you can now access them via the File Explorer!
14. Transfer Photos from iPhone to Computer via iCloud
1. After installing iCloud (which may take awhile) open it on your computer and sign in using your Apple ID.
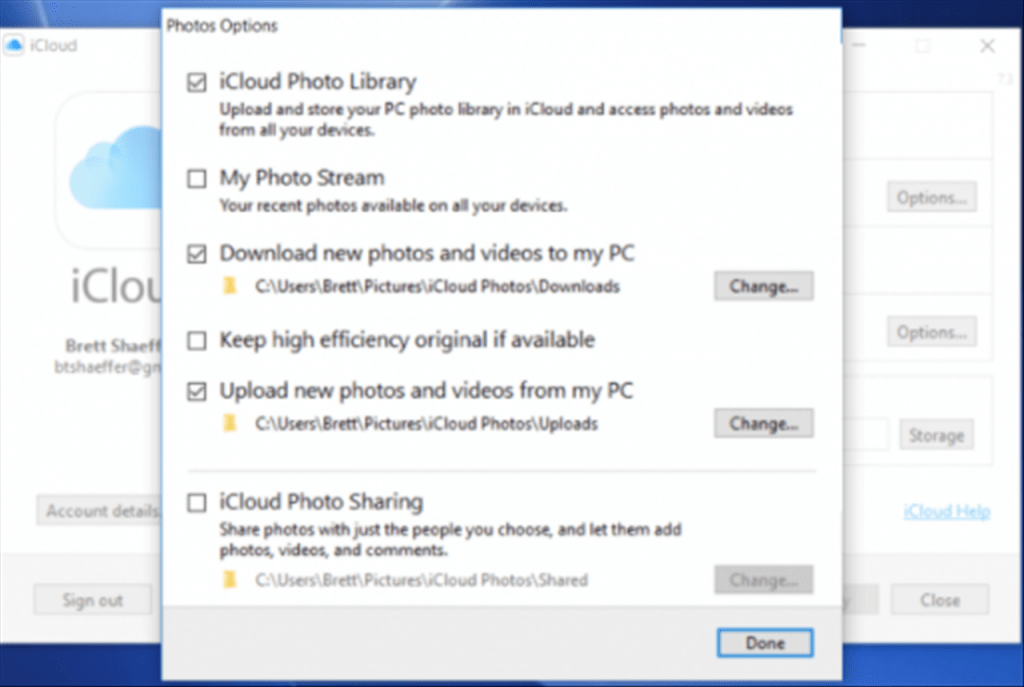
2. Click Options next to Photos
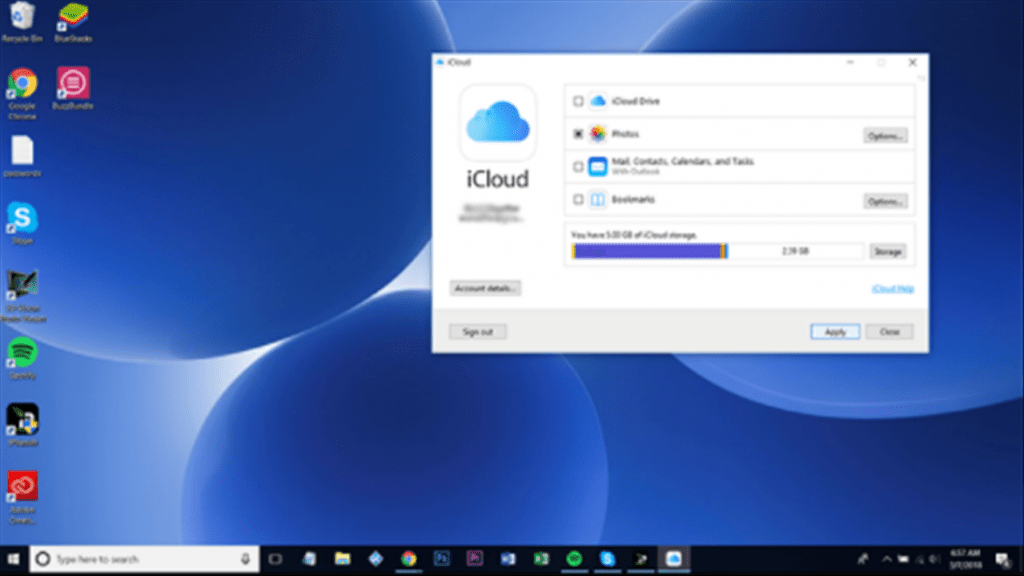
3. Turn on iCloud Photo Library and click Done
4. On your iPhone, open Settings and click your Apple ID as shown highlighted below (Your name with Apple ID, iCloud, iTunes & App Store underneath)
5. Click iCloud
6. Click Photos
7. Turn on iCloud Photo Library
8. To upload pictures, open Photos on your phone and Select any you would like to transfer
9. Click the upload button and choose iCloud Photo Sharing
10. You can now view photographs via File Explorer on your Computer underneath the iCloud Photos Folder
15. Transfer Photos from iPhone to Computer via E-Mail
1. On your iPhone, open the Photos tab and select the photo(s) you would like to transfer
2. Click the upload button located in the bottom left hand corner of the screen
3. This will open an options tab with numerous ways to upload your photo. Click Mail
4. Your E-Mail will now open with the image attached. Enter in an e-mail address, Subject, and any text you would like and Send!

- How to request Google to re-crawl my website? - September 23, 2020
- How do I transfer photos from iPhone to Windows 10? - September 12, 2020
- How to Disable IPv6 in Windows Server 2012 - September 10, 2020